

Key Takeaways
Start here
Why the Garage Gets So Out of Hand
First step
Step One: The Full Empty-Out
Next
Step Two: Sort, Purge, and Decide
Then
Step Three: Create Zones Before You Buy Anything
Build it out
Step Four: Choose Storage That Fits the Zone
Make it last
Keeping It Organized After You're Done
Why the Garage Gets So Out of Hand
The garage is the room with no real rules. Unlike a kitchen or bedroom, it rarely has defined furniture, a clear purpose, or regular cleaning expectations. That ambiguity makes it the default dumping ground for anything that doesn't belong somewhere else - and over months or years, that adds up fast.
Understanding this pattern matters before you start, because it changes your approach. The goal isn't just to tidy what's there. It's to build a system that gives every category of item a logical home so future-you doesn't repeat the same cycle. As our guide on common organizing myths explains, buying more storage bins before addressing the underlying system is one of the most common - and costly - missteps people make.
Zoning
Dividing a space into dedicated areas for specific categories of items - so that tools, sports gear, and garden supplies each have a predictable home and don't intermingle.
Vertical storage
Using wall height - shelving, pegboards, wall hooks - to store items above floor level, freeing up walking and working space below.
Purge
The deliberate process of removing items that are broken, unused, duplicated, or no longer needed before organizing what remains.
One in, one out rule
A maintenance habit where bringing a new item into a space means removing an existing one, keeping total volume from growing over time.
Step One: The Full Empty-Out
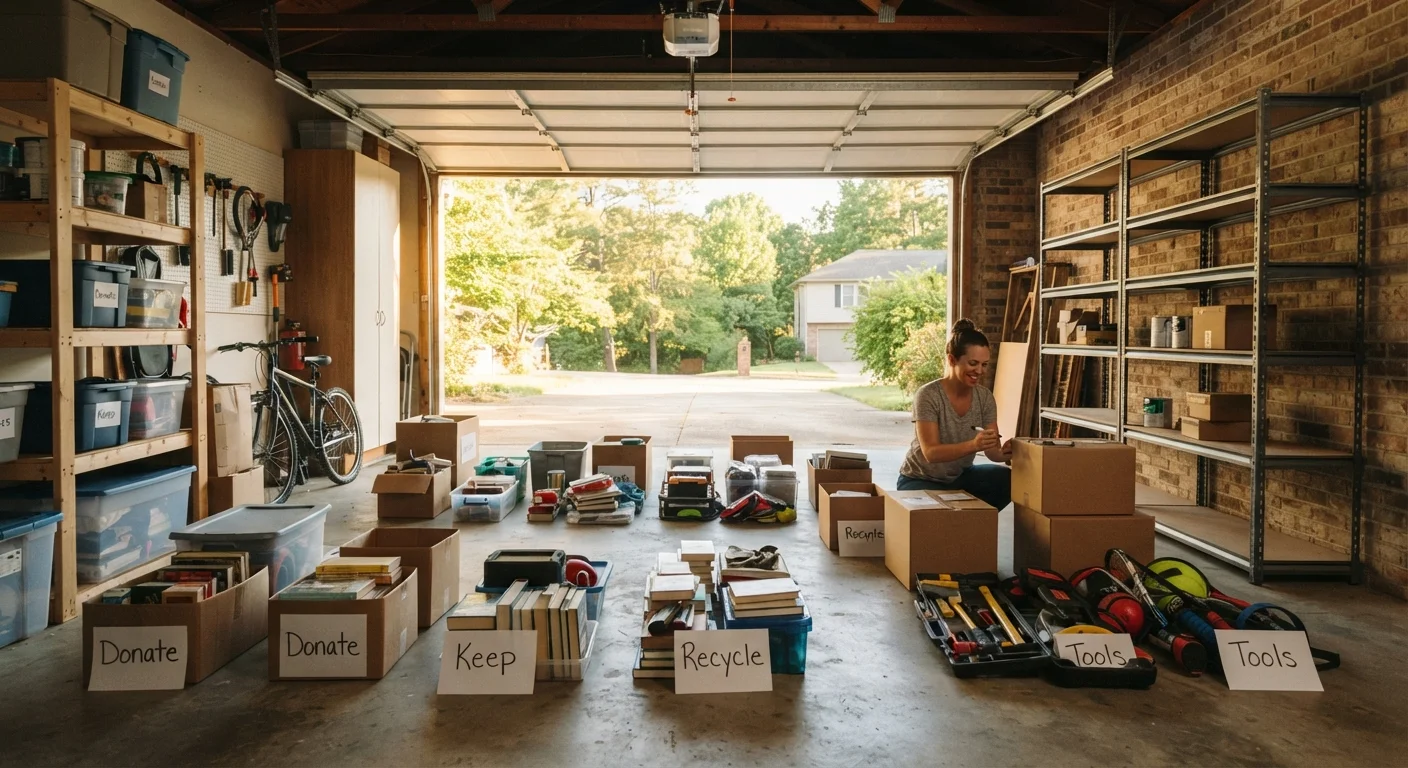
This step feels dramatic, but it's non-negotiable: everything comes out of the garage. Park cars in the driveway, pull items onto the lawn, and clear the space completely. You cannot plan an effective layout around stuff you can't fully see.
Once empty, take stock of the actual square footage, wall surfaces, ceiling height, and any permanent fixtures like water heaters or breaker panels. These details directly shape what storage solutions are practical. Take photos - they're useful reference when you're planning zones later.
Do This on a Dry, Mild Day
The empty-out stage works best when you can lay items on the driveway or lawn without worrying about rain or extreme heat. Plan your garage project around a clear weekend forecast. Having good light and comfortable temperatures also makes the sorting step less exhausting.
Step Two: Sort, Purge, and Decide
With everything visible, sort items into four piles: Keep, Donate/Sell, Trash, and Belongs Elsewhere (items that drifted into the garage but should live inside the house). Be honest. Broken tools, duplicate equipment, and things you haven't touched in three or more years are strong candidates for the donate or trash pile.
The 'Belongs Elsewhere' pile is often larger than people expect. Removing it from your garage total immediately reduces the storage problem you're actually solving. For a broader look at this process applied room by room, see our full home decluttering walkthrough.
Don't Skip the Purge to Save Time
Organizing items you don't actually need just relocates the problem - it doesn't solve it. Taking the time to honestly assess what to keep prevents you from buying storage for things that should have been discarded. A smaller, well-organized keep pile is always easier to maintain than a large, loosely sorted one.
Step Three: Create Zones Before You Buy Anything
Zoning means assigning sections of the garage to specific activity categories. Common zones include: automotive supplies, lawn and garden tools, sports and recreation, hand and power tools, holiday and seasonal storage, and household overflow. Your household's zones will depend on how you actually use the space.
Sketch a rough floor plan. Place the most frequently accessed zones closest to the door you use most. Seasonal items and rarely used equipment go to the back or up high. Hazardous materials - paints, solvents, pesticides - should be stored in a locked cabinet away from heat sources, and in compliance with any local storage regulations.
Mapping zones before purchasing anything is the decision that saves the most money and frustration. It tells you exactly what types and sizes of storage you need - not what looks good in a store aisle.
Step Four: Choose Storage That Fits the Zone
With your keep pile sorted and zones mapped, you can make purposeful storage choices. A few principles guide good garage storage:
- Vertical wall space is prime real estate. Wall-mounted shelving, pegboards for tools, and slat-wall systems can hold a significant amount without consuming floor space.
- Label everything. Clear labels on bins, shelves, and drawers eliminate the 'just set it down for now' habit that restarts clutter cycles.
- Match the container to the item. Heavy items like power tools need sturdy, low shelving. Lightweight seasonal bins can go overhead. Small hardware stays visible in clear stackable drawers.
- Leave floor space intentionally. A garage that feels breathable is easier to maintain. Resist the urge to fill every inch.
If your garage doubles as a workshop or utility area, consider how maximizing tight spaces with smart arrangement applies - the same principles of vertical storage and category grouping translate directly.
Keeping It Organized After You're Done
A newly organized garage will drift back toward chaos without a few lightweight habits in place. The most important: everything has a home, and it returns there. If an item doesn't have a designated spot, that's a system gap - fix it before the floor becomes the default.
A monthly 15-minute walkthrough catches small drift before it compounds. An annual reset - pulling out anything that's crept in without a zone and reassessing what's still needed - keeps the system honest over time. Our annual home organization audit checklist is a useful tool for that seasonal review.
For the longer-term habits that make organization stick across your whole home, see our piece on daily practices that maintain order. Organization isn't a one-time project - it's a small, repeating investment that pays off every time you walk into a space that works.
Annual Home Organization Audit Checklist
A room-by-room reset checklist designed to help you reassess your garage and other spaces each year before clutter quietly rebuilds.
Room-by-Room Decluttering Walkthrough
A practical guide covering every room in the home - useful context if your garage overhaul is part of a broader household organizing effort.