

Key Takeaways
Why Grout and Tile Problems Deserve Early Attention
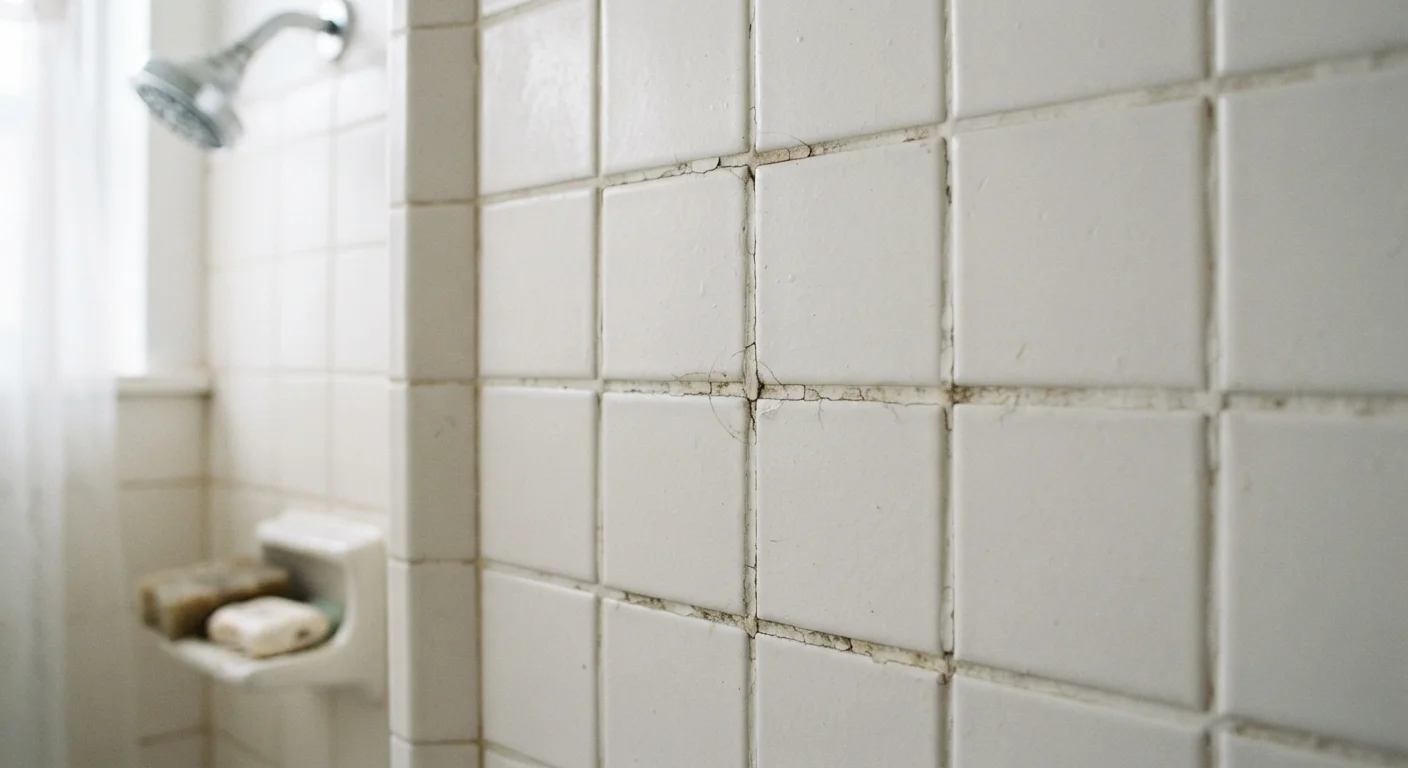
A hairline crack in bathroom grout or a single tile that sounds hollow when tapped can seem like a purely cosmetic nuisance. In reality, both are early warnings worth acting on. Grout is not just filler - it seals the spaces between tiles and prevents water from reaching the substrate behind or beneath them.
Once water gets behind wall tile, it can saturate the backer board, migrate into framing lumber, and create conditions favorable for mold growth. By the time you notice soft drywall or a musty smell, the damage is often well established. The costs of deferred maintenance almost always exceed what a timely repair would have run.
The good news: most grout and tile issues are caught and corrected before they reach that stage - if you know what to look and listen for.
Best Practices for Maintaining Grout and Tile
The following practices reflect standard guidance from tile industry professionals and home maintenance specialists. Applying them consistently keeps small issues from compounding.
Inspect grout lines in wet areas at least twice a year.
Showers, tub surrounds, and kitchen backsplashes are exposed to moisture, cleaning products, and temperature swings. Early detection of cracks or crumbling grout gives you a repair window before water infiltration begins.
Reseal grout in wet areas once a year.
Grout is a porous material that absorbs water and soap residue unless protected by a penetrating sealer. Sealing annually - or per the product's recommended schedule - significantly slows staining and moisture penetration.
Use caulk, not grout, at corners and transitions.
Where two tile planes meet - such as where a wall meets a floor or a tub deck - the joint must flex slightly as the structure moves. Grout is rigid and will crack at these transitions. Silicone or siliconized latex caulk accommodates movement.
Re-adhere or replace individual loose tiles before grouting.
A tile that has lost its bond to the substrate will flex when pressed. Applying fresh grout over a loose tile won't hold - the grout will crack again as the tile moves. The bond must be restored first.
Keep tile surfaces clean without harsh abrasives.
Abrasive scrubbing pads and acidic cleaners gradually erode grout and etch glazed tile surfaces, making both more vulnerable to staining and moisture. Gentle pH-neutral cleaners preserve grout integrity over time.
Quick Wins You Can Do Today
You don't need a full weekend to meaningfully protect your tile surfaces. These actions take minutes to an hour and can prevent months of remediation work later.
Match New Grout to the Existing Color
When regrouting a section, bring a photo of your existing grout to the hardware store and compare it against dry grout samples - not wet ones, which appear darker. Many grout manufacturers offer color-match charts online. A close match keeps repairs inconspicuous without requiring full re-tiling.
When to Call a Professional
DIY grout repair works well for isolated cracks and minor regrouting. However, certain situations call for a licensed tile contractor or, in some cases, a general contractor:
- Grout keeps cracking in the same spots after repair - this often points to substrate movement or insufficient expansion joints. See why grout keeps cracking for a deeper look at structural causes.
- Multiple tiles are loose or hollow-sounding across a large area, suggesting widespread adhesive failure.
- Soft spots, discoloration, or mold visible at wall seams or near the floor - a sign water has already infiltrated.
- Any work involving cement board replacement in a shower surround, which requires proper waterproofing membrane installation.
If you're planning a fresh tile installation rather than a repair - such as a kitchen backsplash - our first-time DIY backsplash guide covers layout, adhesive selection, and grouting from scratch.
Permits and Codes for Tile Work
Most routine grout repair and individual tile replacement does not require a permit. However, if your project involves replacing a shower pan, installing a new waterproofing membrane, or altering plumbing access, local building codes may apply. Always verify with your local municipality before starting work that goes beyond surface repair.