

Key Takeaways
Is a Kitchen Backsplash Right for Your First DIY Project?
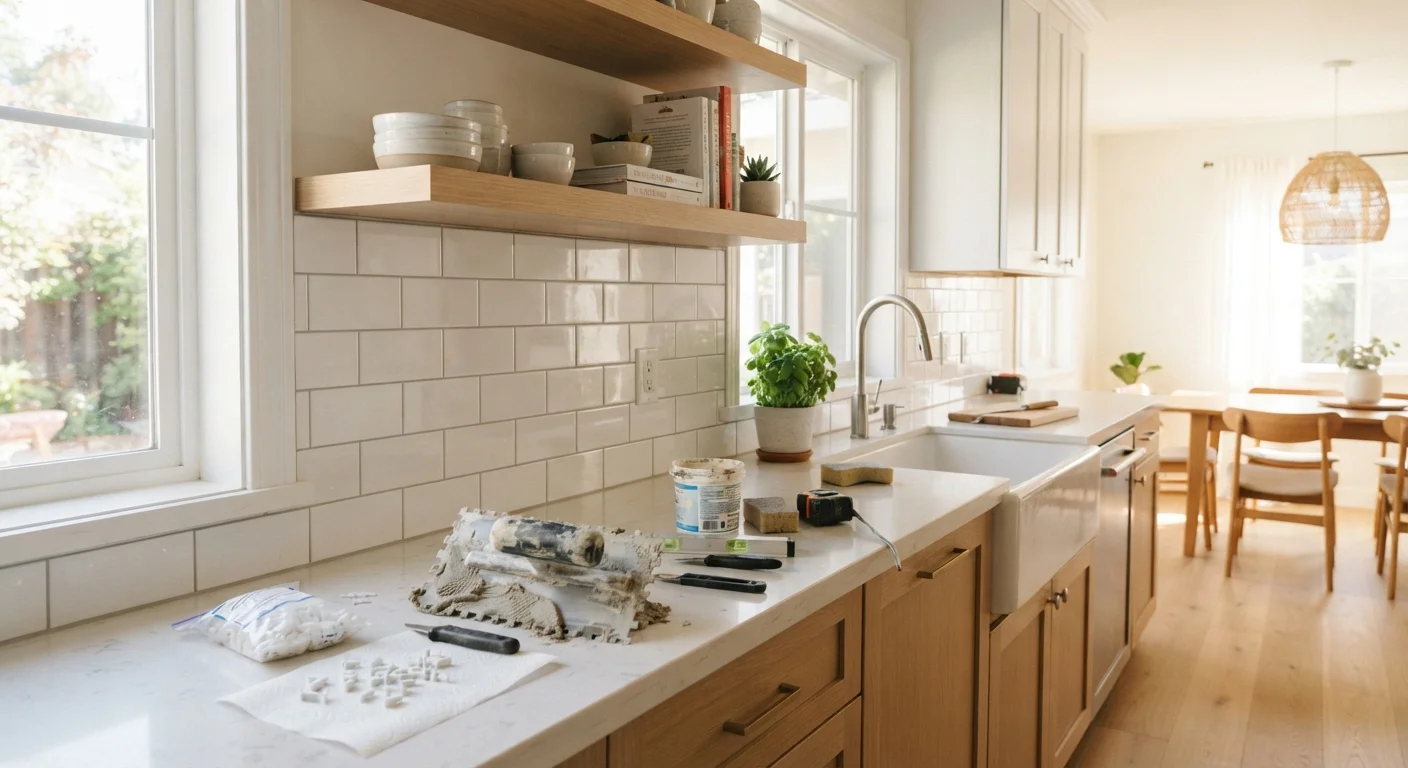
A tile backsplash sits in a sweet spot for first-time DIYers: it's a manageable surface area, the materials are forgiving, and the finished result makes a dramatic visual impact. Unlike flooring or countertops, most backsplash areas are smaller than 30 square feet, which keeps costs and margin for error low.
If you're a renter, check your lease before buying a single tile. Most landlords require written approval for permanent alterations, and unpermitted work can result in forfeited security deposits. For renters who get the green light - or homeowners ready to commit - this guide walks you through the process from start to finish. If you're new to maintaining a home in general, our home maintenance guide for first-time owners is a helpful companion read.
What you will need
Tools, Materials, and Layout Planning
Gathering the right tools before you begin saves multiple trips to the hardware store mid-project. Review the list below and buy roughly 10% more tile than your square footage measurement to account for cuts and breakage.
Notched trowel (3/16" V-notch)
Combs adhesive into ridges that allow tiles to bond evenly to the wall.
Tile cutter or wet saw
Makes straight and angled cuts for edge and outlet tiles.
Spirit level
Ensures your layout line and tile rows are perfectly horizontal.
Tile spacers
Holds consistent grout-line width between tiles during installation.
Rubber grout float
Presses grout into joints without scratching tile surfaces.
Mastic adhesive or thinset mortar
Bonds tiles to the wall; choose based on proximity to heat and moisture.
Sanded or unsanded grout
Fills joints between tiles; choice depends on joint width (typically under 1/8" = unsanded).
Penetrating grout sealer
Protects finished grout lines from grease and moisture after curing.
Once you have your materials, dry-lay tiles on a flat surface to audition your pattern. Find the visual center of your backsplash area - typically the midpoint above the stove or sink - and work outward symmetrically. Avoid ending a row with a sliver of tile narrower than half a tile width at either edge; adjust your starting point to prevent this. Mark a level horizontal line with a pencil and a spirit level before any adhesive touches the wall.
The Dry-Layout Step Saves Time Later
Spending 20-30 minutes dry-laying your tile pattern before touching any adhesive is one of the best investments you can make in this project. You'll catch awkward cuts, confirm your grout line width looks right, and identify any tiles with visible defects before they're permanently set.
Step-by-Step Installation
Follow these steps in order. Do not rush the drying and curing phases - they are not optional.
Prepare the wall surface
Turn off electricity to any outlets in the work area at the circuit breaker. Remove outlet cover plates and store the screws safely. Clean the wall thoroughly with a degreasing cleaner and let it dry completely. Sand down any glossy paint with 80-grit sandpaper so the adhesive can grip. Fill any holes with spackle, sand smooth once dry.
Draw your layout lines
Using a tape measure, find the horizontal center of your backsplash area. Hold a level at counter height and draw a faint pencil line across the full width of the installation area. This baseline keeps your first row perfectly level even if the countertop itself is slightly uneven.
Apply adhesive to the wall
Mix thinset to a peanut-butter consistency if using a powdered product, or open your mastic adhesive. Using the flat edge of your notched trowel, spread a thin skim coat onto the wall. Then comb through it with the notched edge held at a 45-degree angle. Work in sections no larger than 2-3 square feet at a time so the adhesive doesn't skin over before you set tiles.
Set the tiles
Press each tile firmly into the adhesive with a slight twisting motion, then release. Place spacers at each corner. Use a grout float or a small scrap piece of wood to tap tiles gently flush - do not press so hard that adhesive squeezes into the joint. Check alignment every few rows with your level.
Cut border and outlet tiles
Measure each cut tile individually rather than assuming they are identical - walls are rarely perfectly square. Score and snap field tile with a manual cutter for straight cuts. Use a wet saw for curved notches around outlets. Dry-fit each cut piece before applying adhesive.
Allow full adhesive cure
Let the adhesive cure according to the manufacturer's directions - typically 24 hours for mastic and 24-48 hours for thinset. Do not touch, adjust, or grout the tiles during this window. Remove spacers before grouting; pull them out gently with a toothpick or spacer tool.
Mix and apply grout
Mix grout to a smooth, lump-free consistency. Hold the rubber float at a 45-degree angle and push grout diagonally across tile joints, pressing firmly to fill voids. Work in 3-square-foot sections. After roughly 10-15 minutes, wipe excess grout off tile faces with a damp (not wet) sponge using circular motions. Rinse the sponge frequently.
Polish and reinstall covers
Once grout haze has dried (usually 1-2 hours), buff the tile surfaces with a dry microfiber cloth. After the full grout cure period, apply grout sealer per the product instructions. Reinstall outlet cover plates using slightly longer screws if needed to account for tile thickness.
Don't Skip the Cure Window
Applying grout before the adhesive has fully cured is one of the most common first-timer mistakes. It weakens the bond between tile and wall and can cause tiles to shift or pop off weeks later. Check your specific product's curing instructions, as times vary by formulation and humidity.
Once the grout has cured fully (typically 48-72 hours; follow your product's directions), apply a penetrating grout sealer according to the manufacturer's instructions. This protects the grout from kitchen grease and moisture. Planning a larger renovation after this project? Our bathroom remodel planning guide covers how to sequence trades and set realistic budgets for bigger jobs.