

Key Takeaways
Start here
Understanding Your Connection Options
Next
What Equipment You'll Actually Need
Then
Choosing and Setting Up a Provider
Almost there
Getting Your Network Running
Final step
Keeping Your Network Safe and Healthy
Understanding Your Connection Options
Before you call an ISP or rent equipment, it helps to understand what kind of internet signal will actually enter your home. In the US, four technologies cover the vast majority of residential connections.
ISP (Internet Service Provider)
A company that sells access to the internet. They own or lease the infrastructure - cables, towers, or fiber lines - that delivers the signal to your home.
Modem
A device that connects your home to your ISP's network by translating the incoming signal (from a phone line, cable, or fiber) into data your devices can use.
Router
A device that takes your internet connection and distributes it to multiple devices, either wirelessly (Wi-Fi) or through physical ethernet cables.
Bandwidth / Speed tier
The maximum rate at which data can travel between your home and the internet, measured in Megabits per second (Mbps). ISPs sell different tiers - higher bandwidth generally supports more simultaneous users and activities.
SSID
The name your Wi-Fi network broadcasts so nearby devices can find and connect to it. You set this during router setup and can change it at any time.
Firmware
The built-in software that runs on your router or modem. Keeping it updated patches security vulnerabilities and can improve performance.
DSL (Digital Subscriber Line) runs over existing telephone wiring and is widely available, though speeds are generally modest compared to newer options. Cable internet uses the same coaxial infrastructure as cable TV and delivers faster speeds for most households. Fiber-optic internet transmits data as pulses of light through glass or plastic threads, offering the highest and most consistent speeds - but it isn't available everywhere. Fixed wireless beams a signal from a tower to a receiver at your home, making it a practical choice in rural areas where cables don't reach.
Availability is entirely address-specific. For a deeper look at how each technology works day-to-day, see our guide to DSL, cable, fiber, and fixed wireless.
What Equipment You'll Actually Need
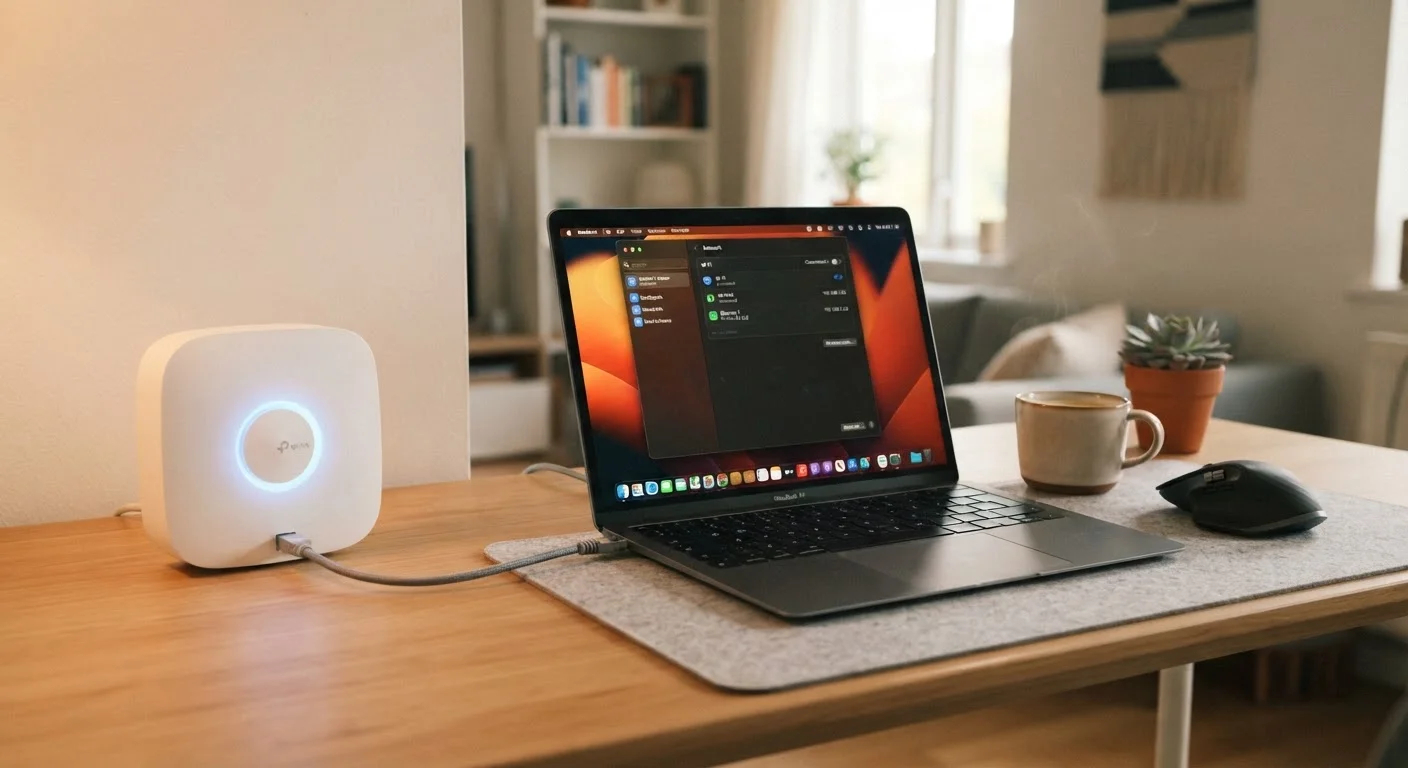
Two pieces of equipment sit at the center of any home network: a modem and a router. The modem handles the conversation between your home and your ISP's network. The router distributes that connection to your devices - wirelessly via Wi-Fi or physically via ethernet cables.
Many ISPs provide a combined modem-router unit (sometimes called a gateway) as part of their service. This simplifies setup considerably for first-timers. If you prefer to own your equipment rather than rent it from your ISP, confirm compatibility before purchasing any device - not all modems work with every provider or connection type.
Renting vs. Owning Your Equipment
ISPs typically charge a monthly rental fee for their gateway device, which adds up over time. Buying a compatible modem and router outright can reduce your ongoing costs, though you become responsible for troubleshooting and eventual replacement. Ask your ISP for a list of approved devices before purchasing anything.
For cable and DSL connections, you'll also need the appropriate cable to run from your wall outlet to the modem. Fiber installations sometimes require a technician to install an optical network terminal (ONT) - a small box that converts the fiber signal - before your router plugs in.
Choosing and Setting Up a Provider
Once you know which connection types are available at your address, the next step is selecting a plan. ISPs typically offer several speed tiers at different price points. When comparing plans, look at the advertised download speed, upload speed (especially relevant if you work from home or video call frequently), any data caps, and the contract terms - some plans require a one- or two-year commitment while others are month-to-month.
Data Caps: Read the Fine Print
Some ISPs impose monthly data caps - a ceiling on how much data you can use before speeds are slowed or overage fees apply. This is especially common with cable and fixed wireless plans. If you stream video heavily or work from home, look for plans that advertise unlimited data or check the cap threshold carefully before signing up.
Internet service is a recurring monthly expense. If you're building a household budget alongside setting up service, our guide to building your first monthly budget can help you factor in connectivity costs alongside other essentials.
After signing up, most ISPs ship a self-installation kit or schedule a technician visit. Self-installation typically involves plugging the modem into the wall outlet, connecting the router to the modem, and following an app or web-based setup wizard to activate service and name your Wi-Fi network.
Getting Your Network Running
Once your modem and router are connected and powered on, you'll configure your wireless network. This usually means:
- Connecting a device (phone or laptop) to the default network name printed on your router's label.
- Opening a browser or your ISP's app to complete activation.
- Creating a custom network name (SSID) and a strong, unique password.
- Restarting the router to apply changes.
Router placement matters. Signals weaken through walls, floors, and large appliances. A central, elevated, open location - not tucked inside a cabinet or behind a TV - delivers the most consistent coverage. If your home has multiple floors or thick walls, a mesh Wi-Fi system (a set of coordinated access points) can extend coverage more reliably than a single router.
As you add devices - phones, laptops, smart TVs, game consoles - you'll start building a home network. Our complete guide to connected home devices explains how they interact and how to manage them as your setup grows.
Keeping Your Network Safe and Healthy
A functioning network is only part of the picture - a secure one is equally important. The single most impactful step you can take immediately after setup is changing the router's default admin password. Default credentials are widely published online and leave your network exposed if left unchanged.
Beyond that, a few habits go a long way:
- Keep your router's firmware updated - most modern routers do this automatically, but it's worth verifying in the admin settings.
- Use WPA3 or WPA2 encryption (typically enabled by default on modern routers).
- Create a separate guest network for visitors so they can access the internet without reaching your primary devices.
- Restart your router periodically - monthly is a reasonable cadence - to clear memory and apply any updates.
For a thorough walkthrough of foundational security practices, our home network security guide covers the essentials without requiring technical expertise. And if you want the complete end-to-end picture of home internet - from troubleshooting to advanced settings - our complete home internet consumer guide is a natural next read.