

Key Takeaways
Summary
18 items · 20-45 minutes
Why Testing Habits Matter More Than Ownership
Most US households have at least one smoke detector - but a working battery and a functioning sensor are two different things. The US Fire Administration consistently notes that roughly three in five home fire deaths occur in properties without working smoke alarms, and a significant share of those failures trace back to dead or missing batteries, expired sensors, or alarms that were never tested at all.
Carbon monoxide (CO) alarms carry a separate but equally serious weight. CO is colorless and odorless, and symptoms of exposure can be mistaken for illness. An alarm that hasn't been tested or that is past its rated lifespan offers little real protection.
This checklist covers every maintenance habit that matters: testing frequency, replacement schedules, placement rules, and what to do when an alarm sounds unexpectedly. Incorporate these steps into your seasonal home maintenance routine so nothing slips through the cracks.
If Your CO Alarm Sounds: Evacuate First
If a carbon monoxide alarm activates outside of a deliberate test, treat it as an emergency. Leave the home immediately, leaving doors open as you exit, and call 911 from outside or a neighbor's home. Do not re-enter until emergency responders have confirmed the space is safe. Seek medical attention if anyone in the household is experiencing headaches, dizziness, or nausea, as these can be symptoms of CO exposure. This applies even if the alarm stops sounding after you leave.
What You'll Need Before You Start
Running through this checklist doesn't require specialized tools, but having a few basics on hand makes the process faster and more complete.
Step stool or stable ladder
Safely reach ceiling-mounted detectors for testing and battery replacement.
Replacement batteries
Swap out aging or depleted batteries in all battery-powered units during your audit.
Vacuum with soft brush attachment
Clear dust from detector vents without damaging sensors.
Permanent marker or label maker
Mark the installation date and manufacture date on the back of new units for easy future reference.
Notepad or phone notes app
Log test dates and any units flagged for replacement to track your maintenance history.
If your home has interconnected hardwired alarms, note that testing one unit should trigger all others - that response is part of what you're verifying. First-time homeowners may also want to review the broader home maintenance fundamentals that apply beyond life-safety devices.
The Full Detector Maintenance Checklist
Work through the groups below in order. The entire audit should take under an hour for a typical single-family home. Mark off each item as you go - partial completion is better than none, but a complete audit gives you confidence the whole system is reliable.
Monthly Testing
Battery Maintenance
Cleaning and Physical Inspection
Replacement Schedule
Placement and Coverage Audit
Never Disable an Alarm to Stop Nuisance Beeping
Removing a battery or silencing an alarm because it sounds during cooking may feel like a quick fix, but it leaves your household unprotected. If nuisance alarms are a recurring problem, relocate the unit farther from the cooking area or switch to a detector with a hush feature rather than disabling it entirely. A chirping low-battery alert should be resolved by replacing the battery - not by removing the unit from service.
Placement Rules That Affect Performance
Even a fully functional alarm fails to protect if it's located in the wrong spot. The following placement principles are drawn from guidance published by the National Fire Protection Association (NFPA) and are widely reflected in US building codes, though local requirements vary - always verify what applies in your jurisdiction.
- Smoke detectors: Install on every level of the home, including the basement. Place inside each bedroom and outside every sleeping area. Mount on the ceiling or high on the wall (within 12 inches of the ceiling). Keep them at least 10 feet from cooking appliances to reduce nuisance alarms.
- CO alarms: Install on each level and near sleeping areas so the alarm is audible while occupants sleep. Follow manufacturer guidance on height - CO disperses relatively evenly in air, so placement flexibility is greater than with smoke alarms. Do not install directly adjacent to fuel-burning appliances or in garages.
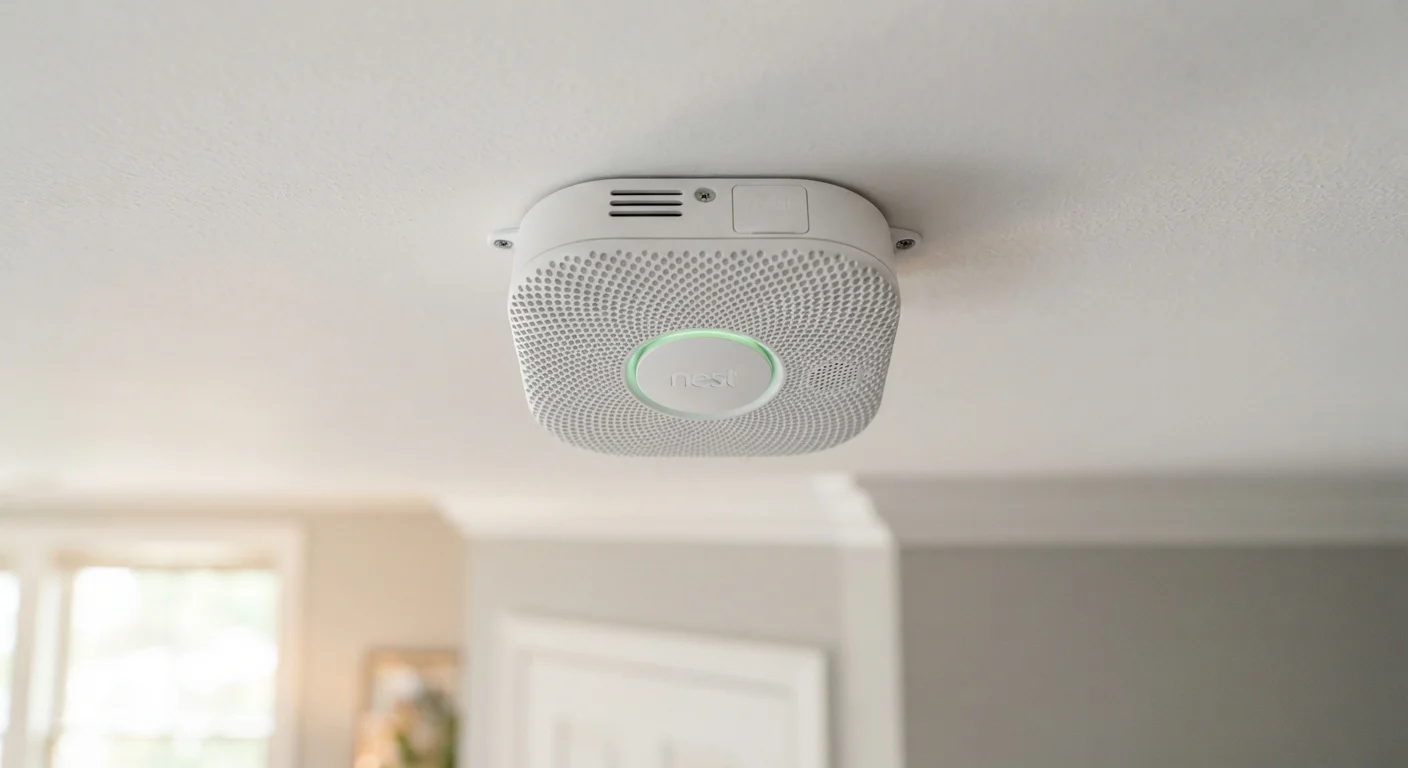
- Combination alarms: Devices that detect both smoke and CO are available and can simplify installation, but verify that each detection type meets placement requirements independently.
Hardwired interconnected systems - where triggering one alarm activates all others - provide the earliest warning across the home. If your home lacks interconnection, consider discussing an upgrade with a licensed electrician, particularly during any planned renovation. The pre-winter home walkthrough is a practical moment to audit placement before heating systems run continuously.
This article provides general home safety information for educational purposes. For guidance specific to your home's construction, local code requirements, or if you have concerns about CO exposure or fire risk, consult a licensed professional or your local fire authority.