

Key Takeaways
Why Drywall Patches Go Wrong
Most failed drywall patches share the same root causes: too much compound applied too fast, insufficient drying time, or edges that weren't feathered out far enough. The result is a patch that bulges slightly, develops hairline cracks, or catches the eye every time light rakes across the wall. Understanding these failure modes makes it much easier to avoid them.
It also helps to recognize when a patch is the right fix at all. As noted in our guide to deferred home maintenance costs, small cosmetic repairs that get ignored often become structural and financial problems later. That said, patching over a symptom - such as a crack caused by settling or a water-stained hole from a plumbing leak - without addressing the underlying cause will only hide the problem temporarily. Our plumbing leak repair guide can help you assess whether moisture is involved before you reach for the joint compound.
Check for Hidden Causes First
Before patching, rule out the reason the damage occurred. Water stains, soft drywall, or recurrent cracks can signal a plumbing leak, structural movement, or moisture problem behind the wall. Patching over an active issue will only delay - and worsen - the underlying damage. If you suspect a leak or structural cause, consult a qualified professional before proceeding.
For a deeper look at what goes into a clean, professional-looking repair, see our detailed drywall patching technique guide, which walks through materials and finishes in greater depth.
What You'll Need
Gathering the right tools before you start prevents mid-repair shortcuts that compromise the result. Lightweight pre-mixed joint compound is generally preferred over setting-type (powdered) compound for small repairs - it's more forgiving, easier to sand, and dries without the time pressure of a chemical set.
Putty knife or drywall knife (4-inch and 10-inch)
Used to apply and feather joint compound across the patch area in progressively wider coats.
Lightweight joint compound (pre-mixed)
The primary filler material for building up smooth, sandable layers over the damaged area.
Self-adhesive mesh patch or drywall patch kit
Provides backing and structure for holes larger than roughly half an inch in diameter.
150- and 220-grit sandpaper or sanding sponge
Used to level dried compound between coats and achieve a smooth, paint-ready surface.
Primer (drywall or PVA primer)
Seals the repaired area so the topcoat of paint absorbs evenly and the patch doesn't show as a dull spot.
Dust mask and safety glasses
Protect your eyes and lungs during sanding, which generates fine drywall dust.
What you will need
Step-by-Step Repair Process
Follow each step in order. Rushing the drying phases between coats is the single most common reason DIY patches remain visible after painting.
Prepare the Damaged Area
Use a putty knife to scrape away any loose paper facing, crumbled gypsum, or flaking paint around the hole or ding. The compound will not bond properly to loose or contaminated surfaces. For nail pops, drive the nail back in with a hammer and add a drywall screw just above and below it - this holds the panel securely so the pop doesn't recur.
Choose and Apply the Right Backing
For holes roughly half an inch or smaller - typical nail holes and small dents - you can fill directly with compound. For anything larger, press a self-adhesive mesh patch firmly over the hole, making sure it overlaps the undamaged drywall by at least an inch on all sides. Without backing, compound over an open void will crack and sink as it dries.
Apply the First (Base) Coat of Compound
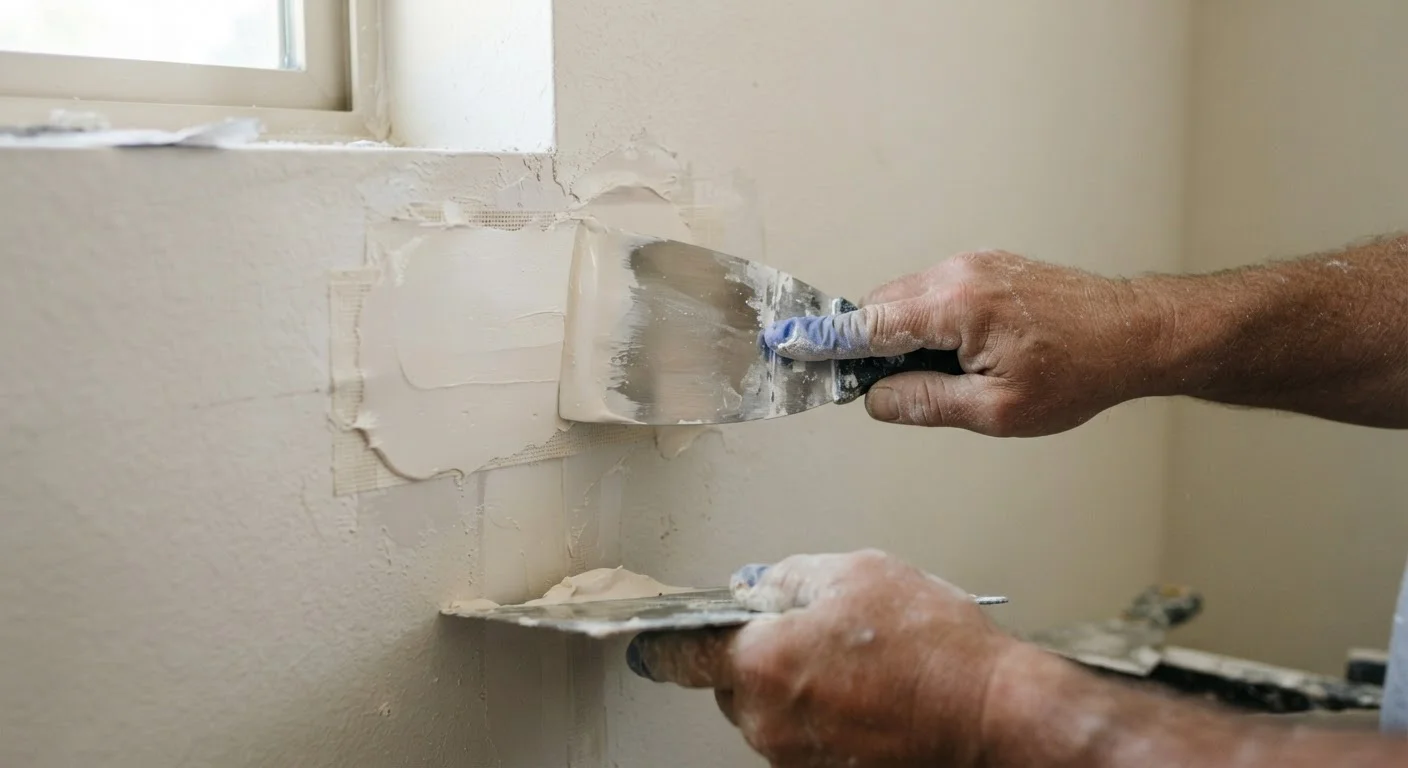
Load a small amount of lightweight pre-mixed joint compound onto your 4-inch knife. Apply a thin layer over the patch, pressing firmly so compound fills the mesh or depression fully. Scrape away the excess so the coat is as flat as possible - this is not the coat that builds height, it's the coat that fills voids. Let it dry completely before moving on.
Sand Lightly and Apply a Second Coat
Once the base coat is fully dry, sand lightly with 150-grit sandpaper to knock down any ridges. Wipe away dust with a dry cloth. Switch to your wider 10-inch knife and apply a second, thin coat, feathering the edges well beyond the patch boundary. This coat focuses on blending, not filling - keep it light and smooth.
Final Sand and Check for Flatness
After the second coat dries fully, sand with 220-grit for a finer finish. Hold a work light or flashlight at a low angle to rake across the surface - this side-lighting reveals any remaining ridges, low spots, or edge lines that will be visible under paint. Apply a third thin coat only where needed, then sand again once dry.
Prime Before Painting
Apply a coat of drywall or PVA primer to the repaired area and let it dry fully before painting. Bare joint compound is highly absorbent - skipping primer causes the paint to soak in unevenly, leaving the patch visibly duller than the surrounding wall even after multiple paint coats. Once primed, apply your finish paint to blend with the rest of the wall.
Feather Your Edges for Invisible Results
The most visible sign of an amateur patch is a raised edge. After each coat, use a wider knife than the one before - starting with a 4-inch knife and graduating to a 10- or 12-inch knife - and apply light pressure toward the outer edges to taper the compound gradually into the surrounding wall. This feathering technique blends the patch so no hard border remains.
Don't Skip the Drying Time
Joint compound that looks dry on the surface can still be wet underneath, especially in humid conditions. Sanding too soon tears the compound and creates grooves that show through paint. Wait until each coat is uniformly white with no gray wet spots before sanding or applying the next layer - this typically takes 24 hours per coat.
Matching Texture and Finishing Up
On smooth walls, a well-feathered and primed patch is virtually invisible after painting. On textured walls - orange peel, knockdown, or skip trowel - you'll need to replicate the existing texture before priming, or the repaired spot will stand out clearly. Canned texture spray products can approximate common finishes; practice on cardboard first to dial in the spray distance and pattern before applying to the wall.
If you're uncertain about the scope of a repair or the wall has extensive damage, consider consulting a professional. Our honest guide to DIY versus professional repairs offers a practical framework for making that call. When repairs are done carefully and surfaces are properly maintained, drywall holds up well for years - a small investment of time now prevents far more disruptive work later.