

Key Takeaways
Why Small Drywall Repairs Are Worth Doing Promptly
A nail hole or small ding might seem like a cosmetic nuisance, but left unaddressed, minor drywall damage can gradually worsen - especially in high-traffic areas or where humidity fluctuates. Paint can peel away from exposed gypsum edges, and small holes in bathrooms or kitchens can allow moisture to reach the wall cavity. As explored in our guide to the hidden costs of deferred home maintenance, minor repairs done early are almost always cheaper and less disruptive than those tackled after the damage has grown.
The good news: drywall patching is one of the most genuinely beginner-friendly home repairs available. Unlike electrical or plumbing work - where the case for DIY requires honest evaluation - most small drywall repairs carry minimal risk when done correctly. The main requirements are patience, thin coats, and proper drying time.
Know When to Call a Pro
Drywall repairs near electrical boxes, plumbing, or in areas with signs of water damage (staining, soft spots, mold) should be evaluated by a licensed contractor before you begin. Cutting into a water-damaged wall without understanding the source of the moisture can worsen the problem significantly. When in doubt, get a professional assessment first.
Before you start, gather what you'll need:
What you will need
Putty knife or drywall knife (3-6 inch)
Applies and smooths joint compound into the damaged area.
Lightweight joint compound (pre-mixed)
Fills and levels the hole or ding flush with the surrounding wall surface.
Sandpaper (120- and 220-grit)
Sands the dried compound smooth and feathers it into the surrounding surface.
Self-adhesive mesh patch
Provides backing and structure for holes larger than a quarter-inch in diameter.
Primer (drywall or all-purpose)
Seals the repaired area so paint adheres evenly and the patch doesn't show through.
Damp sponge or tack cloth
Removes sanding dust from the wall surface before priming.
Dust mask and safety glasses
Protects eyes and lungs during sanding.
Step-by-Step: Patching Small Holes and Dings
Follow these steps in order for the cleanest result. Rushing between coats or skipping sanding is the most common reason patches remain visible after painting. If you want a deeper look at the specific pitfalls that lead to lumpy or obvious repairs, our guide on patching drywall without making it worse covers those scenarios in detail.
Assess and Prepare the Damaged Area
Start by examining the hole or ding closely. Nail holes and small dents need no special preparation beyond cleaning. For holes larger than a quarter inch, check that the edges of the drywall are firm - press gently around the perimeter. If the drywall crumbles or feels soft, stop and investigate for moisture damage before proceeding.
Use a putty knife to scrape away any loose paper facing, crumbled gypsum, or old paint that is peeling at the edges of the hole. A clean, stable edge helps the compound bond properly and prevents cracking later.
Apply a Mesh Patch if Needed
For holes larger than about a half inch and up to four inches, center a self-adhesive fiberglass mesh patch over the opening. Press it firmly to the surrounding wall. The mesh gives the compound something to grip and bridges the gap so it doesn't cave inward as it dries.
For very small holes - think finishing nail or small drywall screw - you can skip the mesh and go straight to filling.
Apply the First Coat of Joint Compound
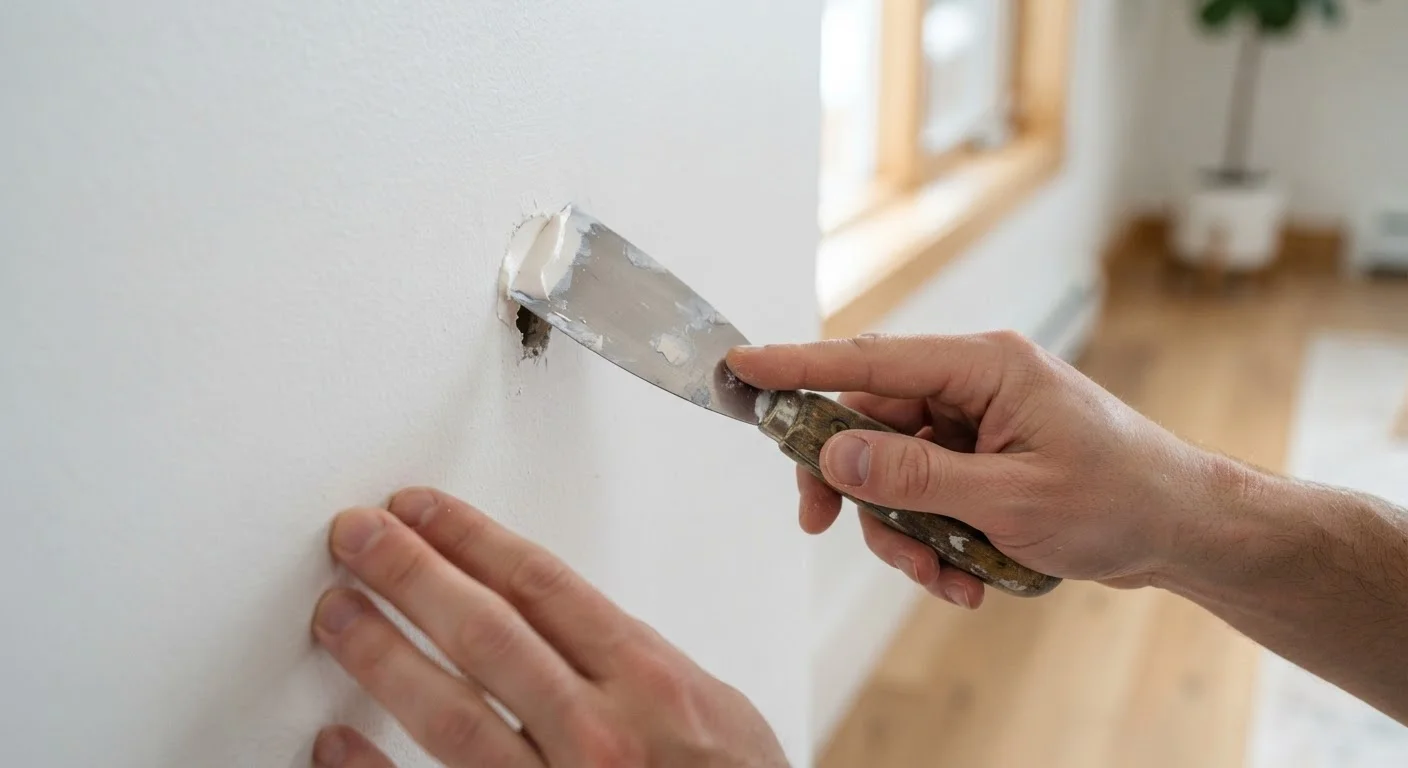
Scoop a small amount of pre-mixed lightweight joint compound onto your putty knife. Hold the knife at a roughly 45-degree angle to the wall and spread the compound across the hole or ding in one smooth stroke, working it into the cavity. Feather the edges outward - meaning gradually thin the compound as you move away from the repair - so there's no abrupt ridge.
The first coat doesn't need to be perfect, but it should fill the hole flush. Aim for a thin, even layer rather than a thick glob, which is prone to cracking and takes much longer to dry.
Let It Dry Completely, Then Sand
Allow the first coat to dry fully - typically at least 24 hours at normal indoor temperature and humidity. The compound will shift from tan or gray to a consistent white when it's ready. Do not rush this step with a heat gun or fan blowing directly on the patch, as uneven drying can cause surface cracking.
Once dry, lightly sand the area with 120-grit sandpaper using circular motions, then follow with 220-grit for a smoother finish. Feather the edges so the patch blends into the surrounding wall.
Apply a Second (and If Needed, Third) Coat
Wipe away sanding dust with a damp sponge or tack cloth. Apply a second thin coat of joint compound, again feathering the edges out slightly wider than the first coat. This coat fills any low spots, pinholes, or slight depressions left after sanding the first coat.
Let it dry completely and sand again with 220-grit. For a smooth wall in good condition, two coats are usually sufficient. On textured or painted walls with more variation, a third skim coat can help the patch blend more seamlessly.
Prime, Texture if Needed, Then Paint
Before painting, apply a coat of drywall primer or all-purpose primer to the repaired area. Joint compound is porous and will absorb paint unevenly if you skip this step - the patch will appear as a dull spot even after two coats of paint, a phenomenon called flashing.
If your wall has a texture, now is the time to replicate it. See the tip callout below for guidance. Once any texture is dry, paint the area to match the surrounding wall. For best results, roll or brush paint slightly beyond the patch perimeter so the edges blend in.
Texture Matching Makes the Difference
A smooth patch on a textured wall will stand out just as much as the original hole. Before you paint, examine the surrounding wall surface. A light orange-peel texture can be replicated by thinning joint compound slightly and rolling it on with a foam roller. Knockdown texture requires a broader knife technique. Test your method on a scrap piece of drywall or cardboard first.
Don't Skip the Drying Time
Applying paint or a second coat of compound over wet joint compound is one of the most common DIY mistakes. Joint compound that looks dry on the surface may still be wet underneath, causing cracking, shrinkage, and paint bubbling. Always wait until the compound has turned uniformly white and is dry to the touch - typically 24 hours between coats in normal indoor conditions.
Once the paint is fully dry, step back and examine the repair from multiple angles and under different lighting conditions - a raking light from a lamp held close to the wall is particularly revealing. Touch up with a final thin skim of compound if any low spots or ridges remain, then re-prime and repaint as needed.