

Key Takeaways
Start With Scope: What Are You Actually Changing?
The most common planning mistake is diving into material shopping before defining what the project actually involves. A bathroom remodel can mean almost anything - swapping a vanity light fixture in an afternoon, or gutting a full bath down to the studs over several weeks. These are fundamentally different projects with different budgets, timelines, and trade requirements.
Before anything else, categorize your remodel into one of three tiers:
- Cosmetic refresh: New paint, fixtures, hardware, mirror, and accessories. No structural or plumbing changes. Often DIY-friendly and completable over a weekend.
- Partial remodel: Replacing the vanity, toilet, or tub surround while keeping existing plumbing rough-in locations. Requires some trade work but minimal permitting in many jurisdictions.
- Full gut renovation: Moving walls, relocating drains or supply lines, replacing subfloor, installing new electrical circuits. Involves multiple licensed trades, permits, and inspections.
If you are not sure which tier fits, walk through the bathroom and note everything you want to change. If any item involves moving a drain, adding an outlet, or removing a wall, you are likely in full-renovation territory. For renters, check your lease before planning anything beyond cosmetic updates - structural changes almost always require landlord approval.
If your bigger goal is simply making the space feel better without a full renovation, see our guide on low-cost weekend projects for alternatives.
Setting a Realistic Budget
Bathroom renovations are consistently among the home projects most likely to exceed initial estimates. The enclosed space, layered trades, and potential for hidden water damage all create cost variability that careful budgeting can only partially offset.
$10,000-$15,000
Median mid-range bathroom remodel cost (US)
According to the National Association of Realtors' Remodeling Impact Report, mid-range full bathroom remodels have historically averaged in this range, though costs vary widely by region and scope.
20-30%
Projects that exceed original budget
Industry surveys consistently find that a significant portion of bathroom remodels run over initial estimates, most commonly due to hidden water damage or scope changes discovered during demolition.
60-70%
Average cost recouped at resale
Remodeling Magazine's annual Cost vs. Value report has found that bathroom remodels typically recoup 60-70% of their cost in added home value, with results varying by market and project quality.
A practical approach is to build your budget in two layers. First, price out everything you can see: fixtures, tile, vanity, lighting, accessories, and finish carpentry. Then add estimated labor for each trade involved. Once you have a total, add a 15-20% contingency - not as a vague buffer, but as a dedicated reserve held in your checking account throughout the project. Subfloor rot discovered after demolition is common and not cheap to address.
Prioritize spending on what you cannot easily change later - tile, plumbing rough-in, and waterproofing - over what you can swap out affordably in the future, such as mirrors, towel bars, or lighting fixtures.
To avoid letting renovation costs disrupt other household finances, consider working through a room-by-room household budget checklist before finalizing your numbers.
Separate Your Contingency From Your Budget
Keep your contingency fund in a separate account or clearly earmarked line so you are not tempted to spend it on upgrades mid-project. Contingency money exists for problems, not wish-list additions. If the project finishes under budget, you can decide then how to use the remainder.
Permits, Codes, and Licensed Trades
Skipping permits is one of the most consequential shortcuts a homeowner can take. Unpermitted work can complicate home sales, void insurance claims, and - in the case of faulty electrical or plumbing - create genuine safety hazards. Requirements vary by municipality, but as a general rule:
- Moving or adding plumbing drain or supply lines requires a permit in most US jurisdictions.
- Adding new electrical circuits, outlets, or upgrading panel capacity requires a permit and typically a licensed electrician.
- Structural changes - removing walls or altering load-bearing elements - require engineering review and permit in virtually all jurisdictions.
Your local building department is the authoritative source on what is required where you live. Many departments now offer online permit lookup tools or pre-application consultations at no cost. Always verify requirements with your local authority before work begins - do not rely solely on a contractor's word about what needs a permit.
Unpermitted Work Has Lasting Consequences
Work done without required permits may need to be torn out and redone to pass inspection - at your expense. It can also create complications when selling your home or filing an insurance claim after water or fire damage. Always verify permit requirements with your local building department before any structural, plumbing, or electrical work begins.
Sequencing the Work Correctly
Bathroom renovations involve multiple trades, and they must work in the right order. Getting this wrong means paying to redo completed work. A standard sequence for a full gut renovation looks like this:
- Demolition - Remove tile, fixtures, drywall, and flooring as needed.
- Rough plumbing - Relocate or add drain and supply lines before walls close.
- Rough electrical - Run new circuits, outlets (GFCI required near water), and ventilation wiring.
- Inspections - Rough-in inspections happen before walls are closed. Do not skip this step.
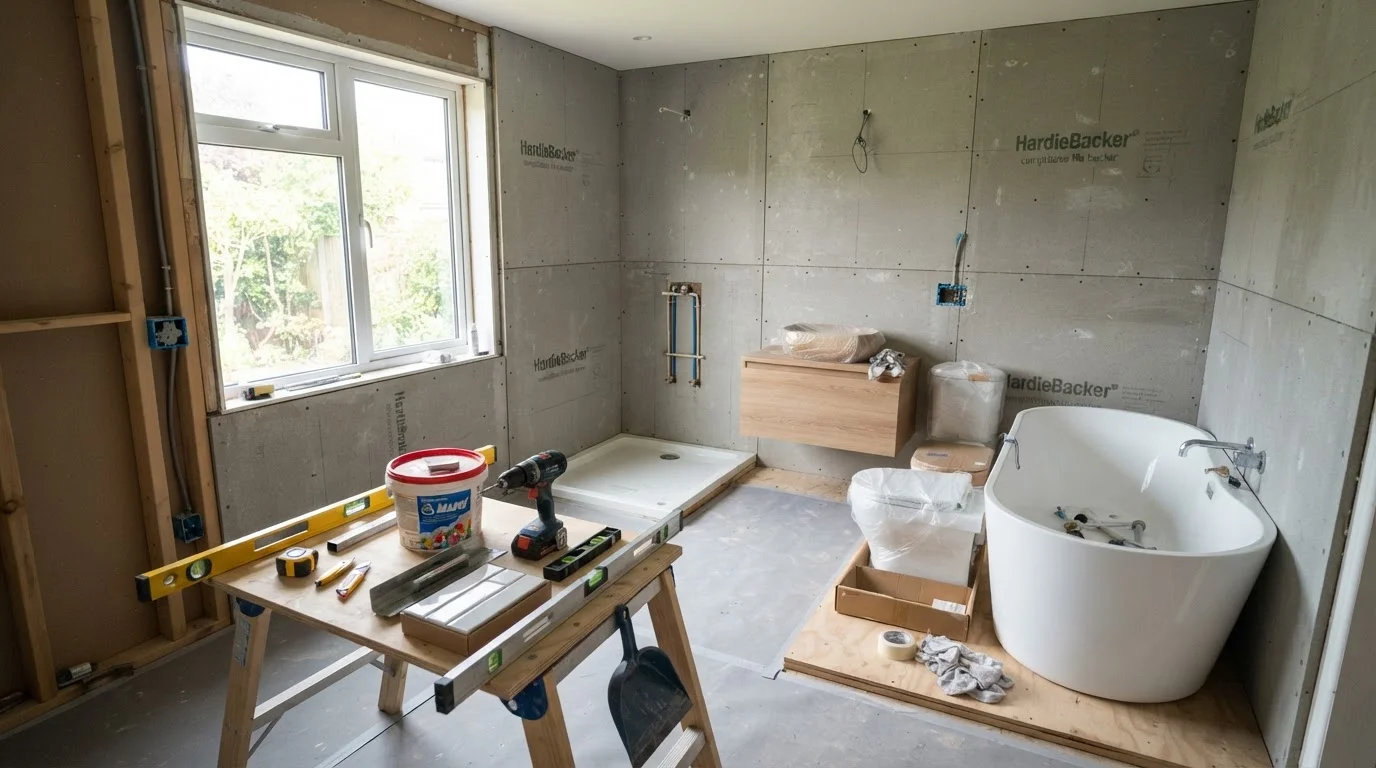
- Backer board and waterproofing - Install cement board or equivalent; apply waterproof membrane in wet areas.
- Tile - Floor and wall tile set and grouted.
- Finish plumbing - Set toilet, vanity, tub/shower fixtures, supply lines.
- Finish electrical - Install outlets, switches, lighting, exhaust fan.
- Paint, trim, and accessories - Final cosmetic finishes.
Even for partial remodels, this logic applies: wet-area waterproofing always happens before tile, and rough work always happens before walls close.
Order all fixtures and tile before demolition begins, not after. Lead times on some items can run four to eight weeks, and a delayed delivery will stall every trade behind it.
Material delays are among the most common causes of project overruns. Locking in your selections and confirming stock availability before demo gives you firm scheduling ground to stand on.
Take dated photographs of every wall cavity before it closes. If a plumbing or electrical issue appears years later, knowing exactly where pipes and wires run saves hours of exploratory demolition.
As-built documentation is standard practice in professional construction and equally valuable for homeowners. A folder of timestamped photos costs nothing and has real future value.
Hiring and Managing Contractors
For any work beyond cosmetic updates, vetting contractors carefully is worth the time. At minimum, verify that any contractor you hire holds a current license in your state and carries both general liability and workers' compensation insurance. Ask for documentation - not just their assurance.
Collect at least three written bids for significant work. A bid that is substantially lower than others is a signal worth investigating, not automatically celebrating. Our guide on evaluating contractor quotes explains what a complete bid should include and which vague line items deserve a follow-up question. Separately, our piece on reading a renovation bid breaks down the common terminology so you can compare bids on equal terms.
Establish a written contract before any work begins. It should specify the full scope of work, materials to be used, payment schedule tied to project milestones, and how change orders will be handled. Avoid paying the full project cost upfront.
Never Pay More Than 30-40% Upfront
Paying a large deposit - or the full amount - before work begins removes most of your leverage if problems arise. A standard industry practice is to structure payments in milestones tied to completed phases of work. Be cautious of any contractor who insists on full payment before starting.
DIY Opportunities (and Honest Limits)
Some bathroom tasks are genuinely accessible to careful first-timers. Others carry risks - to personal safety, structural integrity, or code compliance - that make professional involvement the responsible choice.
Reasonable DIY territory:
- Painting walls and ceiling (after surfaces are prepped)
- Installing new hardware, towel bars, toilet paper holders
- Swapping out a vanity light fixture (only if existing wiring is adequate and circuit is off)
- Caulking around tub or sink
- Replacing a toilet seat or showerhead
Leave to licensed professionals:
- Any work inside the main electrical panel
- Moving or cutting drain lines
- Installing GFCI outlets (technically DIY in some contexts, but inspector sign-off is wise)
- Structural wall removal
- Gas line work, where applicable
If you want to build DIY tile skills before tackling a shower surround, consider starting on a lower-stakes project - our walkthrough on kitchen backsplash installation covers layout, adhesive, and grouting fundamentals that transfer directly to bathroom tile work.
A good remodel plan respects your actual skill level and local code requirements. Taking on more than is safe to DIY rarely saves money once rework, failed inspections, or injury are factored in. The goal is a bathroom you can be proud of - and a process that doesn't unravel your household in the meantime.
This article provides general home improvement information for educational purposes only. Always consult licensed professionals and your local building authority before beginning renovation work.