

Key Takeaways
Why Habits Matter More Than Gear
Ask any search-and-rescue coordinator what most trail emergencies have in common and the answer is rarely a lack of equipment. It is a cluster of small decisions made before and during the hike that compounded into a serious problem. Gear matters, but habits — the things you do consistently without having to think about them — are what protect you when conditions change fast.
The ten practices below are drawn from wilderness safety education, incident analysis, and the accumulated guidance of outdoor emergency responders. None of them require expensive equipment or advanced training. What they require is intentionality. For a comprehensive pre-departure checklist that complements these habits, see our trail-ready safety checklist.
These Habits Apply at Every Experience Level
Experienced hikers are not immune to the risks these practices address. Search-and-rescue data consistently shows that incidents involve people across all skill levels. Treating these habits as fundamentals rather than beginner advice is what distinguishes reliably safe hikers from lucky ones.
The Core Practices That Reduce Real Risk
The practices below address the situations that most commonly send hikers into trouble. They are sequenced loosely from pre-hike planning through on-trail behavior, because effective safety starts at home, not at the trailhead.
File a detailed trip plan with a trusted contact before every hike.
A trip plan tells someone exactly where you are going, which trailhead you are starting from, your expected return time, and what to do if you do not check in. This single step dramatically shortens search-and-rescue response times when something goes wrong.
Check official weather forecasts within 12 hours of your start time.
Mountain weather changes faster than flatland forecasts suggest. Afternoon thunderstorms, flash flooding, and sudden temperature drops are among the most common contributors to trail emergencies. Checking a forecast close to departure — not the night before — gives you the most accurate picture.
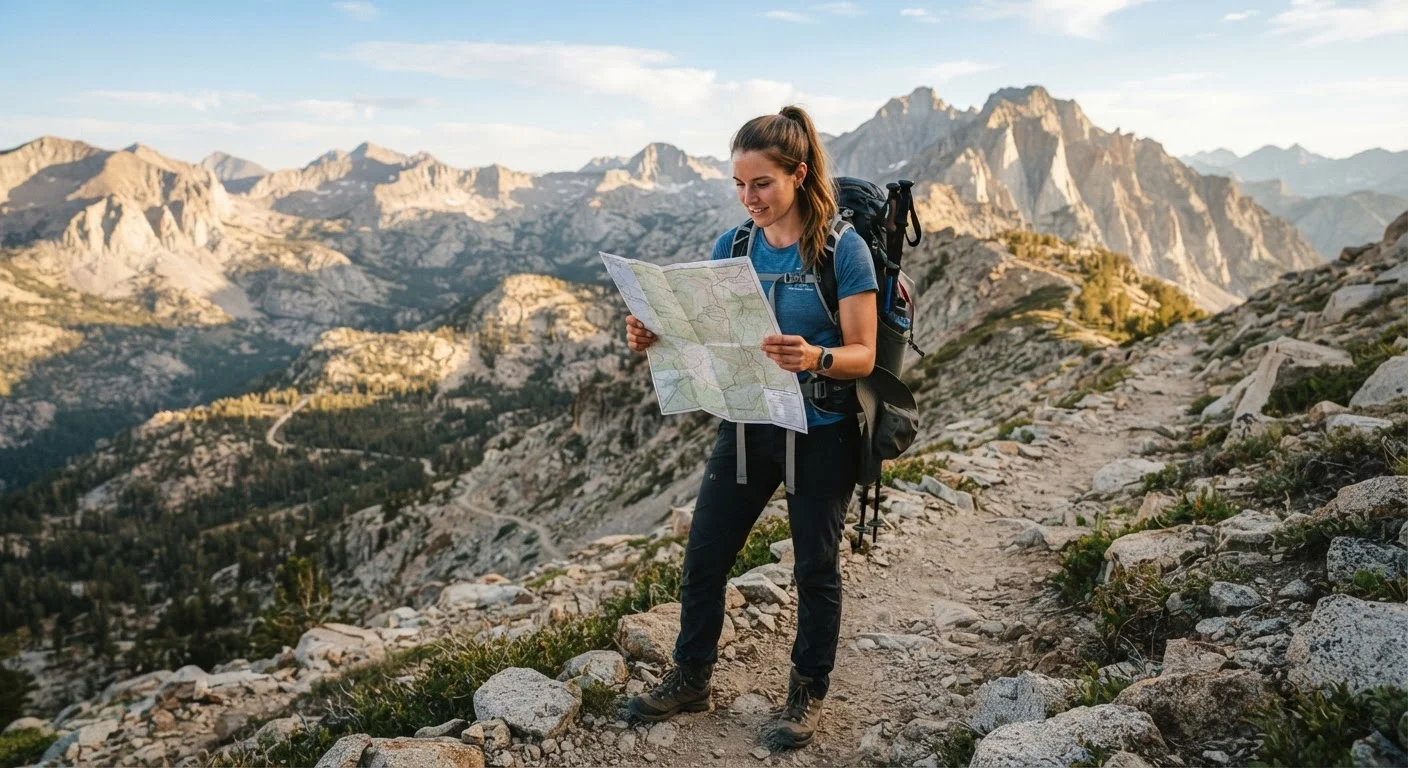
Carry and know how to use a paper topographic map of your route.
Phone batteries die, GPS devices malfunction, and cell signals disappear in backcountry terrain. A paper topo map costs almost nothing and weighs almost nothing, but it works in every condition. Equally important: know how to read contour lines before you need them.
Drink water on a regular schedule, not only when thirsty.
Thirst is a lagging indicator of dehydration. By the time you feel thirsty, your body is already in a slight deficit that affects judgment and physical performance. Consistent, scheduled sipping prevents the cumulative deficit that leads to heat exhaustion or poor decision-making on technical terrain.
Set a firm turnaround time and stick to it regardless of progress.
Summit fever — the tendency to push beyond a planned limit when the goal feels close — is a documented factor in many trail fatalities. A preset turnaround time removes the in-the-moment emotional pressure to keep going when conditions or time no longer support it.
Dress in moisture-wicking, non-cotton layers and carry a rain shell.
Cotton absorbs sweat and rain and retains moisture against your skin, accelerating heat loss when temperatures drop — a condition sometimes called 'cotton kills' in wilderness medicine education. Synthetic or wool base layers move moisture away from the body; a packable rain jacket stops wind and rain from compounding the problem.
Choose trail difficulty that honestly matches your current fitness, not your aspirational fitness.
The most common cause of hiker rescue is a mismatch between the demands of a trail and the hiker's actual physical capacity. Overestimating ability leads to exhaustion, injury, and becoming stranded. Honest self-assessment, especially at elevation or with significant pack weight, is not timidity — it is sound planning.
Carry a first-aid kit and know how to treat blisters and sprains.
Blisters and ankle sprains are the two most frequent trail injuries. Neither is life-threatening in isolation, but both can turn a manageable situation into an evacuation if left untreated. A small, lightweight kit and basic skills to use it keep minor problems from escalating.
“The mountains have a way of dealing with overconfidence. The single most effective safety tool I have seen is not a piece of gear — it is a clear decision made before the hike begins about when you will turn back.”
— Buck Nelson, Search and Rescue Volunteer and Wilderness First Responder Instructor
Planning Failures Are the Easiest Risks to Eliminate
A disproportionate number of trail incidents trace back not to weather, terrain, or bad luck, but to planning missteps that were entirely avoidable. Underestimating trip length, failing to account for elevation gain, and skipping the weather check are the kinds of errors that feel minor during preparation but become serious mid-route. Our article on overpacking and under-planning explores this pattern in detail.
Seasonal conditions add another layer of complexity that even experienced hikers underestimate. Trail accessibility, water availability, lightning risk, and permit requirements shift significantly by region and time of year. Before heading out on a new route, review regional conditions through a resource like our guide to seasonal hiking across the US.
For hikers venturing out alone, the planning bar is higher still — not because solo hiking is inherently reckless, but because the margin for error is narrower. Our balanced look at the honest trade-offs of solo hiking covers what those additional demands actually look like in practice.
Start These Today
Most of the habits described above have a version you can implement before your next hike without buying anything. The quick actions below represent the highest-leverage starting points.
Building safe habits is a process of repetition, not a single decision. The hikers who move through the outdoors with genuine confidence are not fearless — they are prepared. For a deeper dive into navigation skills that complement these habits, our guide to reading a topo map without a signal is a practical next step.