

Key Takeaways
Start here
Choosing the Right First Route
Next
Essential Gear Without Overloading
Then
Planning Your Food and Water Strategy
Before you go
Safety, Navigation, and Leave No Trace
Set expectations
What to Genuinely Expect on Night One
Choosing the Right First Route
The single biggest factor in a successful first overnight is selecting a trail that matches your current fitness level — not the one that looks most impressive on social media. Look for a designated trail with clear signage, a well-established campsite with a water source nearby, and a total round-trip distance you've already comfortable walking in a day. Popular state forest trails, national forest dispersed camping areas, and national park backcountry loops with entry-level routes are all solid starting points.
Verify permit requirements before you finalize anything. Many high-demand wilderness areas require advance reservations for overnight use. Check the relevant land management agency's website — the U.S. Forest Service, Bureau of Land Management, or National Park Service — and book permits as early as the system allows. For a broader overview of organizing any trip from scratch, see our complete trip-planning guide.
Dispersed camping
Camping outside of a designated campground, typically on public land, where you choose your own site within land-agency rules about minimum distances from water and trails.
Leave No Trace (LNT)
A widely adopted set of outdoor ethics principles designed to minimize human impact on natural environments, covering everything from campsite selection to waste disposal.
Bear canister
A hard-sided, animal-resistant container used to store food and scented items in the backcountry, required by regulation in many wilderness areas.
Personal locator beacon (PLB)
A handheld emergency device that, when activated, sends a distress signal to search-and-rescue services via satellite — useful in areas with no cell coverage.
Cat hole
A small hole dug 6–8 inches deep in the soil for burying human waste in the backcountry, placed at least 200 feet from water, trails, and camp.
Sleeping pad R-value
A rating that measures how well a sleeping pad insulates against cold ground — a higher R-value means better insulation, which matters more as temperatures drop.
Essential Gear Without Overloading
Pack weight is the enemy of enjoyment on your first overnight. A common beginner mistake is bringing too much. A functional one-night kit includes: a shelter (backpacking tent or tarp), a sleeping bag rated for the expected nighttime low, a sleeping pad, a headlamp with spare batteries, a stove with fuel and a lightweight pot, a water filter or purification method, a first aid kit, a navigation tool (map and compass, or a downloaded offline map on your phone with a backup), sun protection, rain layers, and appropriate footwear. Keep your loaded pack under 35 lbs if possible — most beginners can sustain about 20–25% of their body weight comfortably over several miles.
Borrow or rent gear before buying everything new. Outfitters at many trailhead gateway towns offer daily rentals on tents, sleeping bags, and pads, letting you test what works before investing. For a pre-departure checklist covering navigation, emergency kit, and weather awareness, consult our trail-ready safety checklist.
Do a Shakedown Hike First
Before your overnight, do a 5–8 mile day hike wearing your loaded pack to identify any fit issues, hot spots, or gear problems. This reveals whether your boots are broken in and whether your pack's hip belt and shoulder straps are adjusted correctly. Fixing discomfort before the overnight is far easier than suffering through it on the trail.
Planning Your Food and Water Strategy
Caloric needs increase substantially when you're hiking with a pack. Plan for roughly 1.5–2 lbs of food per person per day, favoring calorie-dense, lightweight options: nut butters, dried fruit, jerky, instant oatmeal, ramen, and freeze-dried meals. Avoid anything that requires extended cooking time or produces strong odors. Keep your meal plan simple — one night in the backcountry doesn't require elaborate cooking.
Water planning is non-negotiable. Before leaving home, identify water sources along your route using current trail maps and recent trip reports posted on hiking forums or the land agency's website. Conditions can change — a reliable spring in spring may be dry by late summer. Carry a filter, purification tablets, or a UV purifier and treat all backcountry water before drinking, regardless of how clear it appears.
Store all food and scented items — including toothpaste and sunscreen — away from your sleeping area per local wildlife regulations. Many areas require bear canisters; check before you go.
Safety, Navigation, and Leave No Trace
Always share a detailed trip plan with a trusted contact before you leave: trailhead name, planned route, campsite location, and your expected return time. If you're overdue, they know who to call. Consider carrying a personal locator beacon (PLB) or a satellite communicator device for areas with no cell coverage — these can summon help when nothing else can.
Navigation in the backcountry relies on more than your phone. Download offline topographic maps before you lose cell service, and carry a paper map and compass as a backup. Know how to read trail markers and identify your campsite on the map before you set out.
Leave No Trace (LNT) principles are not optional — they protect the trails and campsites you're enjoying. Camp on durable surfaces (established sites or bare rock), pack out all waste, bury human waste in a cat hole 6–8 inches deep and at least 200 feet from water, and leave natural features undisturbed. Following LNT keeps backcountry access open for everyone.
Weather Can Change Fast in the Backcountry
Mountain and forested areas can see dramatic weather shifts — including thunderstorms, temperature drops, and trail flooding — with little warning. Check a reliable forecast for your specific trailhead area within 24 hours of departure and pack rain gear regardless of the outlook. If severe weather moves in during your trip, err on the side of descending or sheltering rather than pushing on.
What to Genuinely Expect on Night One
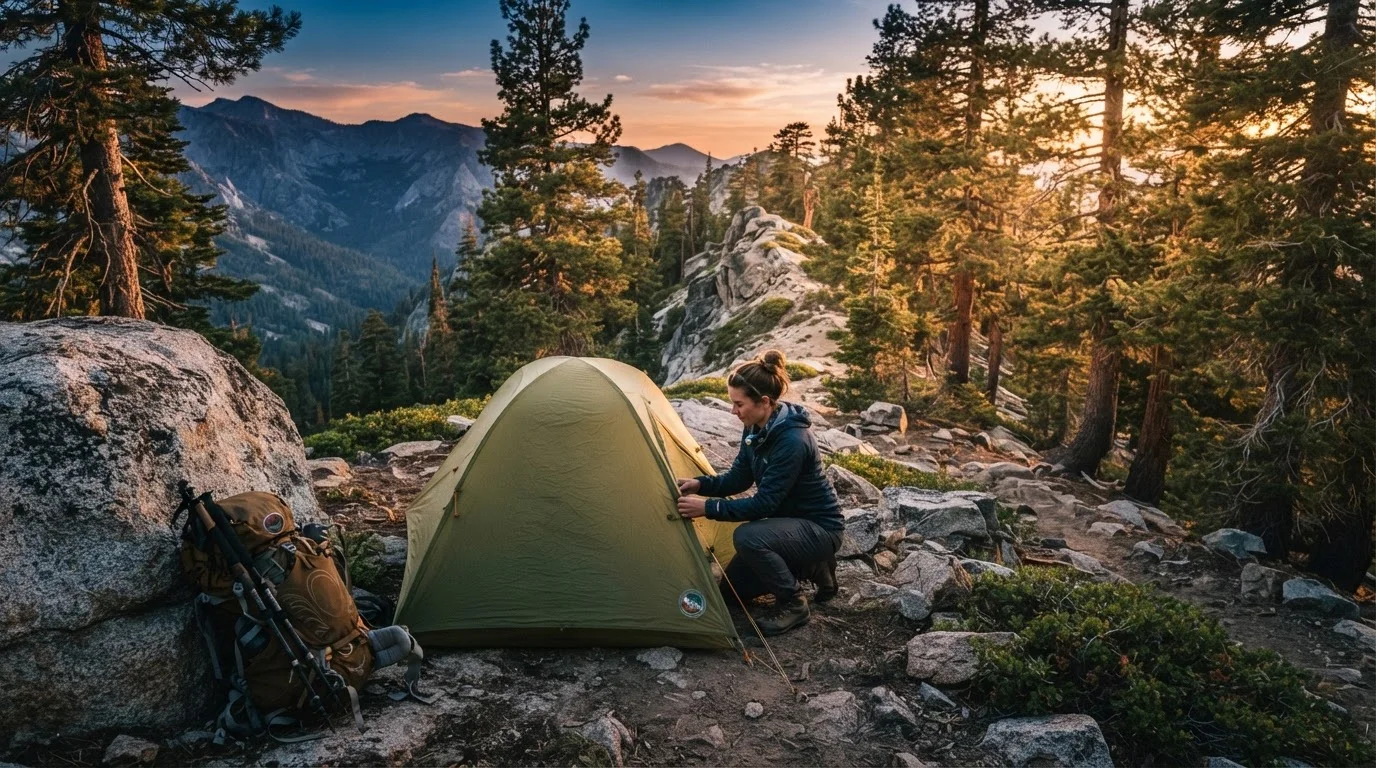
Your first night in a backcountry tent will probably be less comfortable than you imagined — and more memorable than you expected. You may hear unfamiliar sounds, find the ground harder than anticipated, wake up cold at 3 a.m., or need to use the bathroom in the dark. All of this is normal, and all of it gets easier with repetition. Set up camp well before dark so you're not fumbling with tent poles by headlamp. Eat a warm meal, hang your food, and take a few minutes to sit quietly and actually absorb where you are.
If you're bringing children on a future outing, the dynamics change significantly — our guide to camping with kids covers what genuinely matters for a family's first campout. For now, focus on finishing your first overnight with a sense of what worked, what you'd change, and what you want to see next. Most people who do one overnight plan a second before they're back at the trailhead.