

Key Takeaways
Why Seasonal Rotation Deserves a Real System
Seasonal items - winter coats, holiday decorations, camping gear, patio cushions - typically occupy usable space for only three to four months of the year. Without a deliberate rotation system, they tend to accumulate in whatever space is convenient, blocking access to things you need daily and making every transition a stressful hunt. A structured approach doesn't require a large home or a dedicated storage room. It requires consistency, clear labeling, and a schedule you can repeat without reinventing the process each time.
The goal isn't perfection. It's a repeatable routine that takes an afternoon twice a year rather than a chaotic weekend whenever the weather changes. The habits that maintain an organized home - as outlined in our guide on keeping organized homes organized - apply directly here: small, consistent actions prevent the large annual scrambles.
What you will need
What You'll Need Before You Start
Gathering your supplies before you begin the rotation prevents mid-task trips to find a marker or another bin. The tools below don't need to be elaborate - the key is having a consistent set you reuse every rotation.
Lidded Plastic or Fabric Bins
Contain and protect grouped seasonal items in a stackable, uniform format.
Label Maker or Permanent Marker
Identify bin contents and season at a glance without opening every container.
Cedar Blocks or Sachets
Deter moths and absorb moisture in bins storing wool or natural-fiber clothing.
Garment Bags
Protect hanging seasonal items like coats or formal wear from dust and snags.
Silica Gel Packets
Control humidity inside bins storing gear or shoes that are susceptible to mold.
Inventory Sheet or Spreadsheet
Track what is stored where so retrieval doesn't require opening every bin.
Use Your Calendar as a Rotation Reminder
Set two recurring reminders per year - one in early spring and one in early fall - to trigger your rotation. Pairing this task with another seasonal routine, like a seasonal home maintenance check, makes it easier to remember and harder to skip.
Step-by-Step Rotation Process
Follow these steps in order during each seasonal transition. The full process takes one to three hours depending on the volume of items and how many categories you're rotating at once. Plan to have donation bags and trash bags on hand so decisions made during the audit step don't stall the rest of the process.
Don't Store Dirty or Damp Items
Packing away unwashed clothing, wet gear, or dusty décor is one of the most common storage mistakes. Moisture trapped in bins can cause mold and mildew; food residue attracts pests; and set-in stains become permanent. Always clean, fully dry, and condition items before they go into long-term storage.
Audit Before You Rotate
Before packing anything away, go through every item in the outgoing season's category. Ask honestly: Did you use this in the past year? Does it still fit or function? Is it worth the storage space? Items that don't pass this check should be donated, recycled, or discarded - not stored. Reducing volume now makes every future rotation faster. This is also a natural moment to do a broader room-by-room organization audit if it's been a while.
Clean and Condition Everything Going Into Storage
Launder all clothing and linens, wipe down décor pieces, and inspect gear for damage before storing. For leather goods and boots, apply a conditioner appropriate to the material. This step protects your investment and ensures items are ready to use immediately when you unpack them. Skipping it is the leading cause of unpleasant surprises at the next rotation.
Group Items by Category and Season
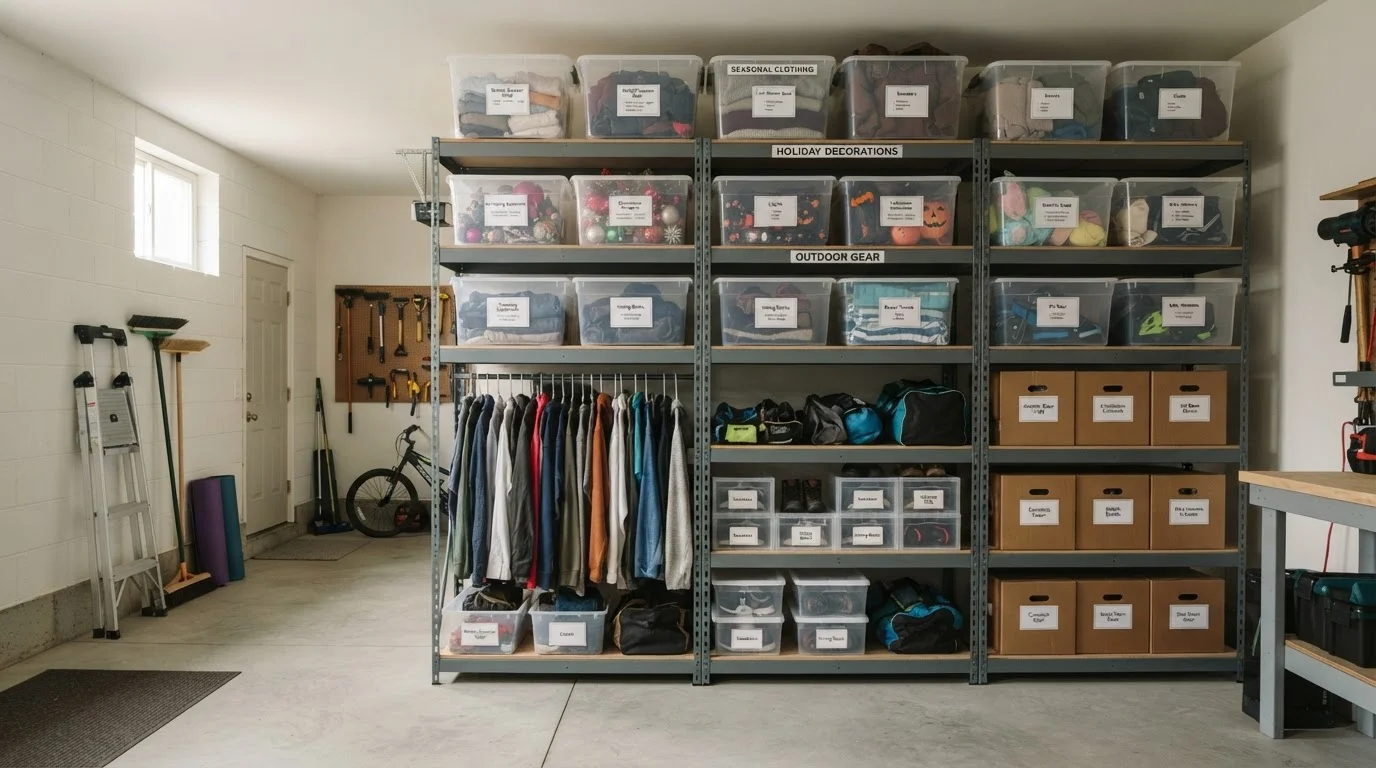
Organize your items into clear categories: winter clothing, summer clothing, holiday décor, outdoor entertaining gear, sports equipment, and so on. Each category should live in its own dedicated bin or zone. Mixing categories across bins forces you to open everything during retrieval. If closet space is already tight, see our guide on organizing strategies for limited closet space for approaches that may help.
Label Every Container Clearly
Each bin should be labeled with its contents and the season it belongs to. A label reading Winter - Scarves, Gloves, Hats is more useful than one that just says Winter Accessories. If you maintain an inventory list or spreadsheet, note the bin's storage location alongside its contents. Clear labeling is what separates an organized storage system from a room full of mystery boxes.
Assign and Stick to Dedicated Storage Locations
Designate specific shelves, closet sections, or floor areas for each seasonal category, and return items to those same locations every rotation. Consistency is what makes retrieval effortless. If your home has limited dedicated storage, look at underused storage spots like under-bed space, above-cabinet shelving, or behind-door organizers. A predictable system removes the cognitive load of remembering where anything is.
Schedule Your Next Rotation Date
Before you close the last bin, set a calendar reminder for the opposite rotation - roughly six months out. Tying it to a fixed annual marker (the first weekend of October, for example) makes it a routine rather than a reaction. If you share a home with others, coordinate timing and responsibilities in advance to avoid the last-minute friction that derails the process. Our article on organizing a home when household members disagree covers how to build systems everyone will actually follow.
Common Mistakes That Derail the System
Even a well-designed rotation system breaks down when a few recurring mistakes go uncorrected. The most common: storing items without cleaning them first (addressed above), using containers that are too large to move easily when full, and mixing categories across bins so retrieval requires opening everything. A second frequent problem is skipping the audit step - which means the system quietly accumulates items that haven't been used in years, making each rotation slower and more overwhelming than the last.
Avoid Airtight Bags for Natural Fibers
Vacuum-seal bags seem like a space-saver, but they can compress and damage wool, down, and other natural fibers over several months. Use them for synthetic textiles and hard goods only, and store natural-fiber items in breathable cotton bags or lidded bins lined with cedar blocks instead.
If you share your home, misaligned expectations around rotation timing and storage zones are another friction point. Establishing shared conventions - which bins belong where, who handles which category - makes the system durable across multiple household members. You might also consider whether your organizing approach overall suits your household's patterns; our article on choosing the right organizing system can help you evaluate the options.